Marbled Christmas Crackers
Decorating the table is one of my favourite Christmas traditions. It's where the family come together and go to spend some of the day with no distractions from each other. This is why I try to continue them there for equally long as possible and what better way than with the fun of crackers!
 View in gallery
 Only who wants the regular silver, gold, read and green crackers full of useless gifts and rubbish jokes? (Ok, really we'll keep the jokes.) Why non make your own stylish crackers and fill them full of things your guests will love, and who knows, they might even stay at the tabular array even longer!
 View in gallery
 Materials:
- A4 paper
- Disposable roasting tin
- Cracker snaps
- Cardboard tubes
- Strong glue
- Cord
- Blackness and white nail varnish
- Skewer
Instructions:
 View in gallery
 1. Cascade warm water into the roasting tin. Get a sheet of paper and the skewer ready. Take the lids off the nail varnish. You'll demand to work speedily before the varnish dries in the h2o. Pour the white varnish in first. You lot volition see the top of the water go cloudy then yous will come across patches of white appear.
 View in gallery
 Put down the white polish and quickly dribble the black varnish over the top of the white.
 View in gallery
 ii. Use the skewer to gently move the varnish around in the tin to make a marbled outcome.
 View in gallery
 three. Place the piece of A4 paper over the top of the water and varnish. Don't dunk the paper nether the water – you just want to transfer to varnish over from the pinnacle of the h2o onto the paper.
 View in gallery
 iv. Cut pieces of newspaper tube so that you have two pieces slightly shorter than the eye. Make certain they all fit well inside the length of the paper.
 View in gallery
 five. Insert the snap into the tubes and glue them all onto ane of the longer edges of the marbled paper. Exit to dry.
 View in gallery
  View in gallery
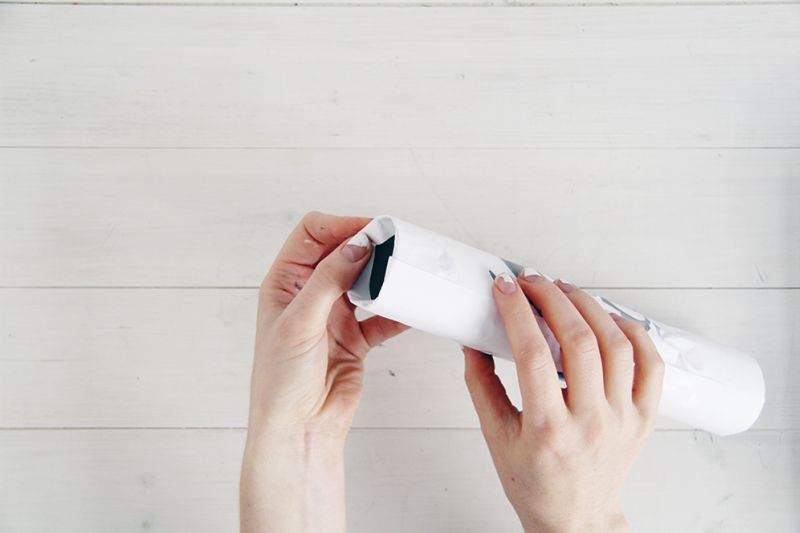
 half-dozen. Gyre the paper tubes along the paper and mucilage the other side to seal the paper and create the cracker.
 View in gallery
 seven. Fold the ends into the inside of the newspaper tube and glue down to create neater ends.
 View in gallery
 eight. Fill with treats, jokes and tons of confetti then cut a length of string and necktie knots in the gaps between the rolls.
 View in gallery
  View in gallery
 Make at least one cracker per guest and watch the fun as people are covered in glitter and gifts! Just don't retrieve most the cleaning…
 View in gallery
  View in gallery
  View in gallery
  View in gallery
 Source: https://www.homedit.com/marbled-christmas-crackers/
0 Response to "Marbled Christmas Crackers"
Post a Comment